Showing posts with label Kids. Show all posts

Friday, November 4, 2011

Halloween

This Halloween was just as fun as
any other Halloween.  We started out the day with a little
Halloween party at our house.  With KK being home schooled
we didn't want to miss out on the Halloween fun!


We invited the neighbor kids and had lots of decorations and
candy.  I set up a few games for them to play but didn't expect them
to be such a hit. They loved the cake walk and
bean bag toss.


Trick-or-treating came later in the night.  We met up with
the cousins to take on the neighborhood.
We had the cutest Toy Story creature, Belle, and Batman out there!


I just love how her dress turned out.  It didn't fall apart the
first time she tried it on, which is a step up from last year :)
My sewing skills have taken a massive improvement.
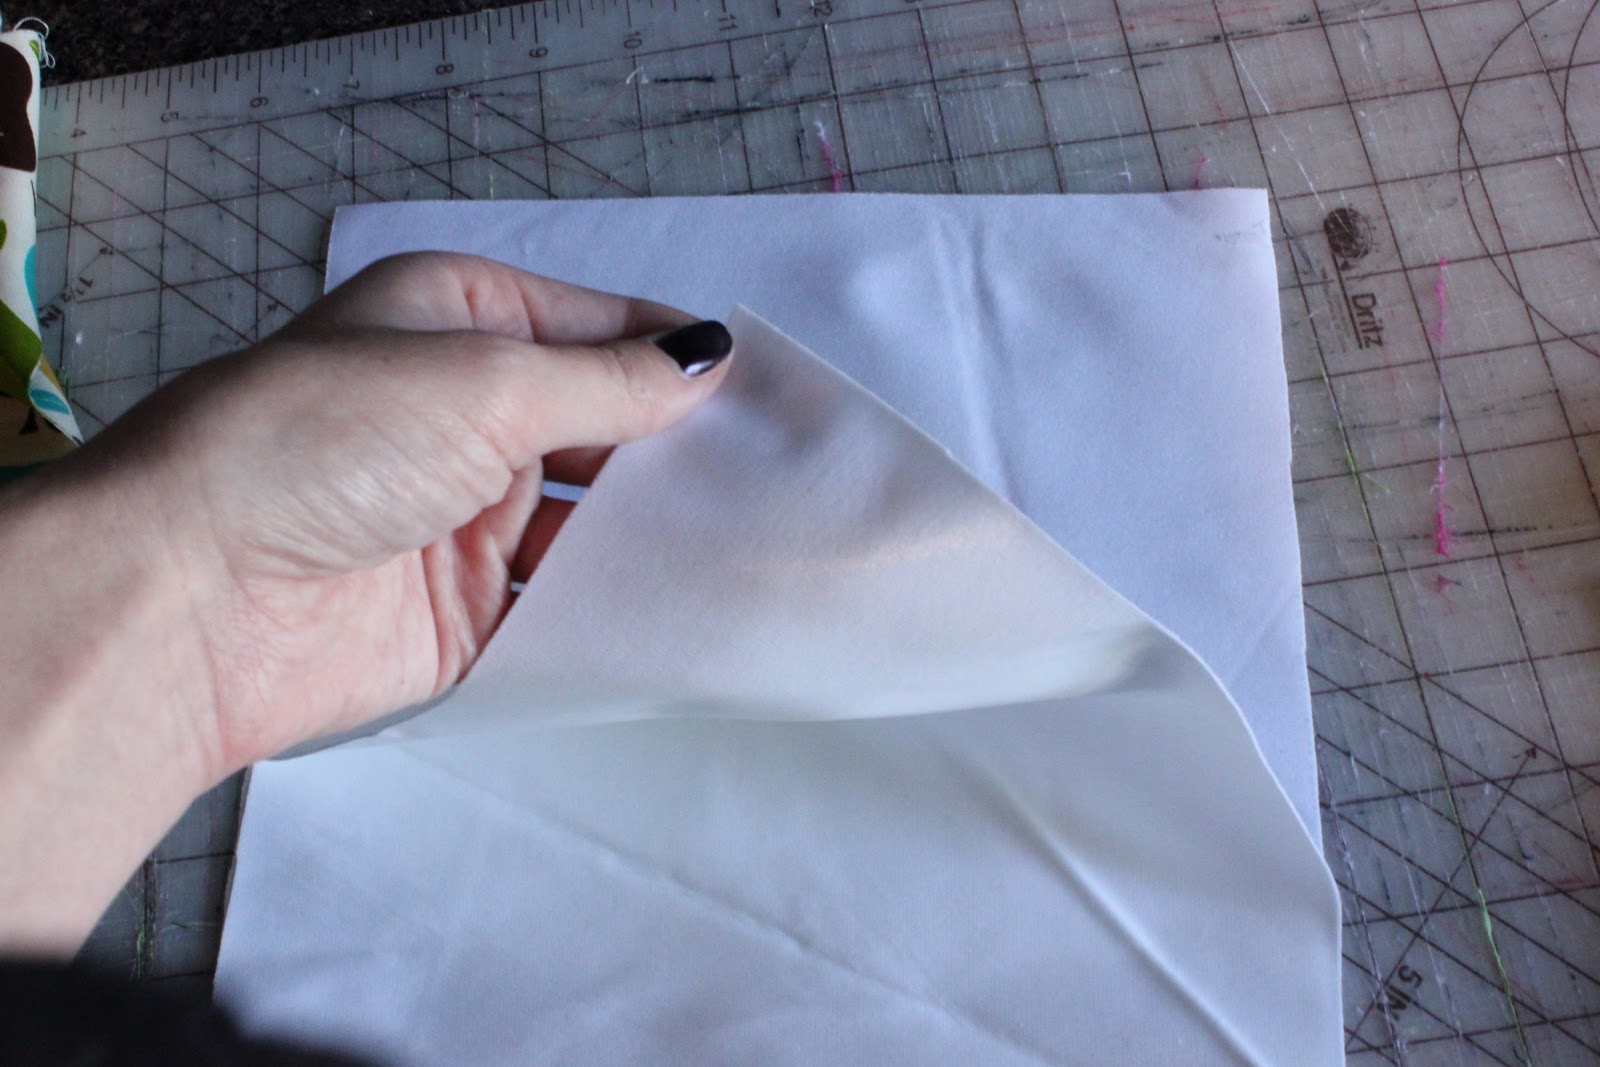
The tutorial from Make-it-love it was my inspiration. In her tutorial
she made a Cinderella costume, so I adapted it to Belle and added 
tulle for some more fluff and handmade rosettes. This dress made for
one happy little girl! Even if she did wear it for a few hours it turned out  way
less expensive than a store bought one and nothing is better than when
she says "This is the best princess dress mom." Ah, she has my heart!!

Hope everyone had a safe and spooky Halloween!


Friday, September 30, 2011

Drool Bib Tutorial + Pattern

We don't deal with drool around our house but my sister's little
man is drooling. She was not able to find a package
of drool bibs, so I got busy making some.


They turned out super cute and I can't wait to see pictures
of him in his new bibs.  Maybe this will help lower the amount of outfit
changes during the day. Does the teething baby in your
family need some drool bibs?
Here is what you need

Supplies:
Scrap fabric
Polyurethane laminated fabric or batting
velcro
click for the bib pattern  here


I started out with a bib that I found at the thrift store since all signs of baby
at our house are in storage.


I used the bib as an outline but I shortened the bib and widened the neck a
little for those chubby babies.


 With wrong sides together
pin your pattern to your fabric and cut your bib out.


Next, grab your polyurethane laminated fabric or batting.
I used PUL because It will withstand the drool just
a little better than batting. There will be a shiny side and a dull
side.


With the shiny side up, pin your pattern to the PUL


Cut this out


Unpin the fabrics and layer them, PUL (shiny side up),
then the patterned fabric right sides together


Pin all of those layers together and with a 1/4 inch
seam allowance sew around the bib, leaving a inch wide opening where
I am pointing.


Flip it right side out. Place a pin on the front of the bib. You want
the shiny side of your PUL to be the front side of you bib, so
it will protect against the slobber better. Now
 pin the opening where you turned. Iron
the seems.


Sew 1/4 inch seam around the bib.


Place your velcro on the ends of the bib.
I like the velcro that sticks so  it doesn't move as
much when you are sewing.


Stick the velcro on and attach.  When you sew your velcro
use white thread on top and keep your bobbin color that was used to
sew around the bib. That way you won't have dark thread showing
on your velcro.


Iron down your seams one more time.


You have a great drool bib for the teether in your life!
This bib was for a boy, so to dress them up I added a mustache to a few
of them.


Seriously the possibilities are endless, especially for a little
girl.

**Update...here is an idea for those little girl droolers in your life. The
flower is made out of felt.


Pin It

Saturday, August 20, 2011

Baby Girl Onesie and Leggings

A client asked me to make a little girl onesie with LOTS of pink!
Pink is half the fun of having a girl, right??
Since the colder seasons are fast approaching we
decided to add some cute leggings to match!


These leggings will be perfect for the colder months! They
are especially great for when those little legs
start moving and crawling. Her little knees won't be so red :)


Even the big girls wear them. They work in place
of itchy tights and were our saving grace when KK took
ballet and gymnastics.  She couldn't resist picking her tights.
Within oh, thirty minutes, her tights were destroyed.

Being a girl IS fun!!
Check out the SHOP for baby and little girl leggings :)


Sunday, August 14, 2011

Zero the Hero

My cousin asked me to make a cape for her
Kindergarten classroom. On the hundredth day of school
Zero the Hero comes. Every hero needs a cape!
I was so happy how it turned out.


These color combinations are by far my favorite! The red and yellow
just screams super hero.


I think the Huey house needs to have a Zero the Hero
cape. 

Thursday, July 7, 2011

Blast from the past


Remember this guy??
Groucho Marx. Well, I don't remember him exactly but
I do remember these beauties.


My dad had a pair of these in his magic closet. My sisters and I would
play with them all the time! What good memories. Those great memories
led to this...


Just sent this one off to my nephew.  Very
suiting for a son of an optometrist, don't you think?

Now, didn't you all play with one of these at one point in your life?


The etch a sketch provided great entertainment back in day.
All we need now is a pack man onesie to finish the top three
toys from the 90s.

Saturday, July 2, 2011

Girl Power!

Are there ANY little baby girls out there? Seems like everyone is having a boy!
I was excited to hear that my mom needed a little girl onesie. After some brainstorming
this is what I came up with.

Ruffle Butt Onesie


I couldn't help but add a bow to the front. Every little girl outfit
needs a bow :) The bow tutorial came from Living With Punks. She
had Kate of see kate sew guest blog on how to make these fabulous bows.
I thought this little bow would be the perfect accent to this girly outfit.


After the bow was finished, I thought it would be a nice touch to
add a little ruffle on that booty.  Over at Crap I've Made Char shows you
a step by step of this cute little number.
The ruffles on the bottom won't fray and get even cuter
when you wash them.


Added this onesie to my shop. Go check it out :)


Friday, June 3, 2011

Nap Mat

The first day of preschool I sent KK to school with one of those plain jane nap mats. 


 I felt like the worst mother EVER when I saw everyone elses mats with pillows and blankets.  Immediatly dropped her off at school and headed to Hobby Lobby. That day we "pimped" her mat out. She was SO proud of it :)


Attached pillow that can be removed for washing and an attached blanket that washes
up nicely.  The mat comes out too!

It rolls up nicely for travel to school.

Taking orders now for your little one's nap mat :)
 

growgiggles | Template By Rockaboo Designs | 2012